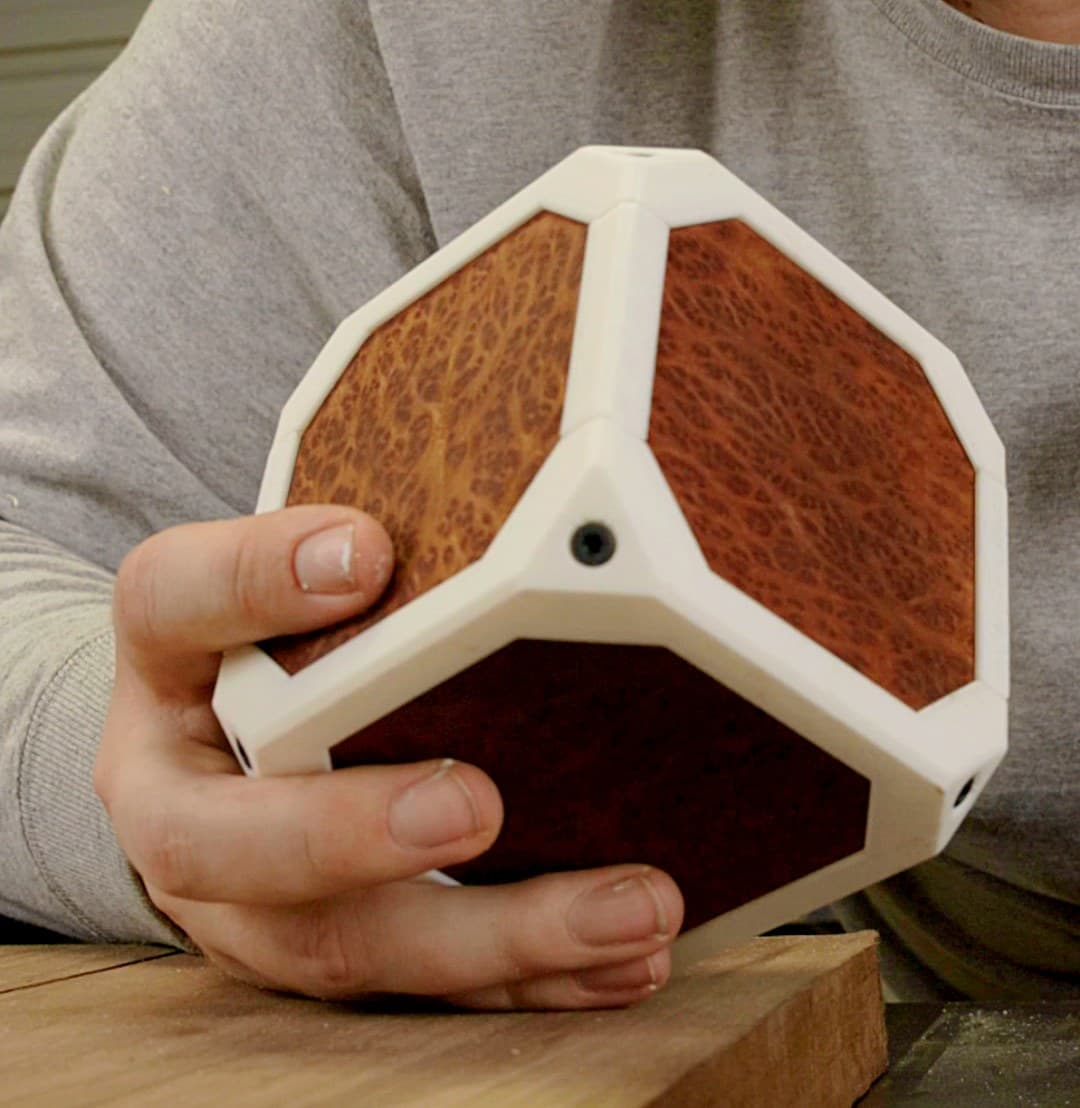

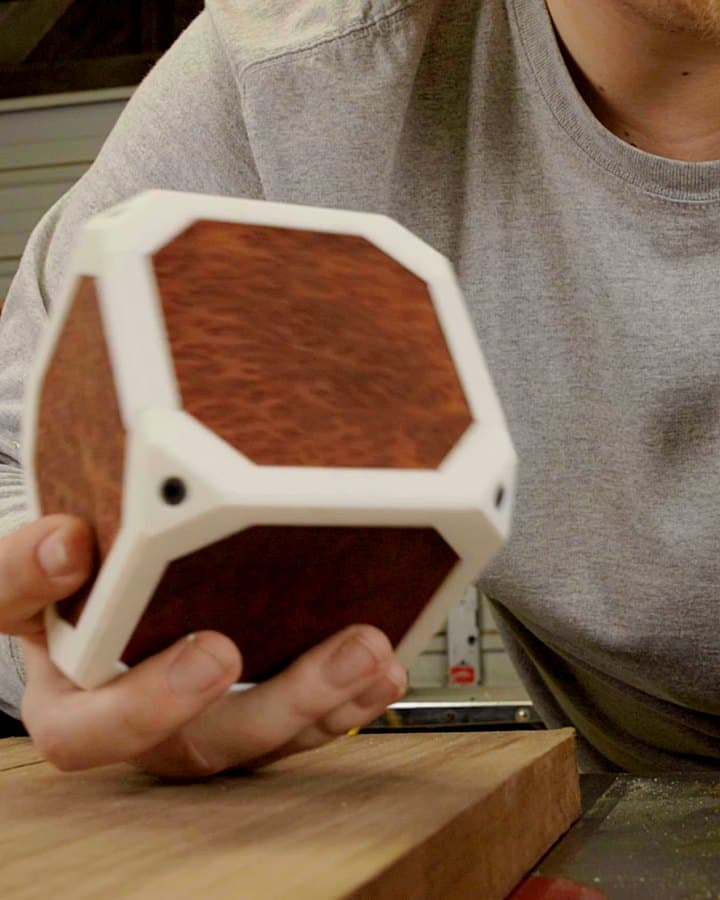
This one’s real wood veneer on a printed frame.
I cut the wood on it with just a knife. You can build one at your desk, and the files are free.
- STL and 3MF print files
- Build guide for your phone
- Hardware list with links
One email with the files, then build notes now and then. Unsubscribe in one tap. Privacy
 Made by Shane at Artifact Armory
Here’s what’s in the zip.
The build guide is sized for your phone, so you can follow it at the desk. I’ll email the print files so they’re on your computer.
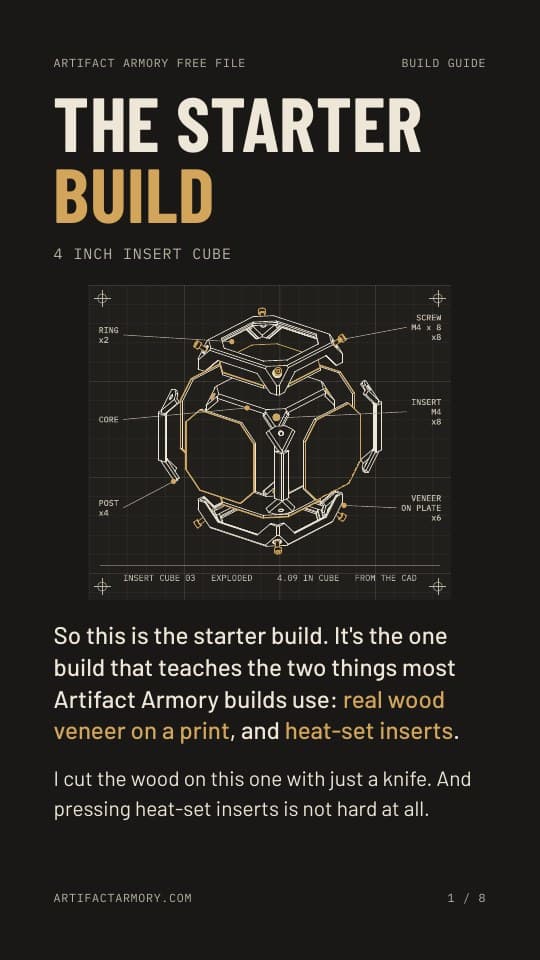
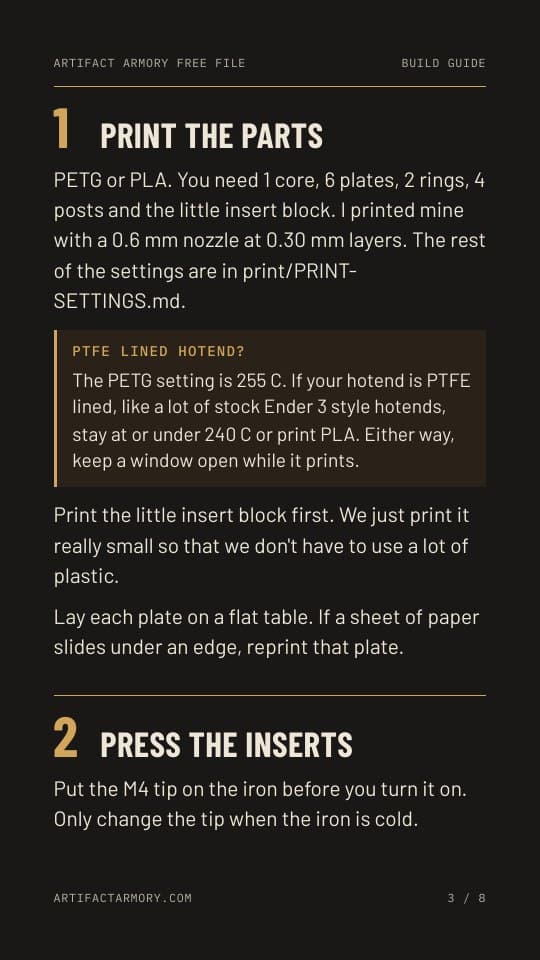
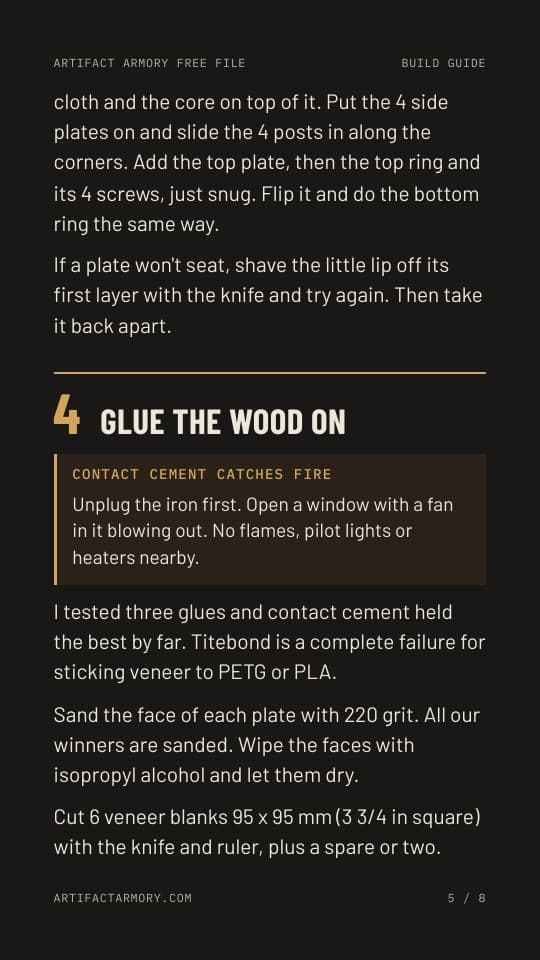
- print/stlAn STL for every part, already turned the way it prints
- print/3mfThe parts laid out on four plates for a 256 x 256 mm bed
- PRINT-SETTINGS.mdSettings for PETG and PLA, and where the supports go
- guideThe build guide in six steps, plus a copy to print on white paper
- HARDWARE.mdEverything to buy, with links
What you’re making.
A 4 inch cube. A printed frame with real wood on all six sides, held together with heat-set inserts and screws, so it comes back apart.
It’s the starter build because most of my builds use the same two things: real wood on a print, and heat-set inserts. This one teaches you both.
Step 1 of 5
Print it.
The core, six skin plates, four posts and two rings. I printed mine in plain PETG. PLA is fine too.
Step 2 of 5
Dry fit it.
Put it together once with the bare plates, no glue. If a plate won’t seat, shave the little lip off its first layer. Then take it back apart.
Step 3 of 5
Set the inserts.
Eight Ruthex M4 heat-set inserts go into the core with a soldering iron and an insert tip. Do one in the practice block first.
Skill one: heat-set inserts
Step 4 of 5
Put real wood on all six sides.
Contact cement on the plate and the back of the veneer. Let it tack, set it down and press it hard or roll it. Then trim it with a knife. No power tools, just you at the desk.
Skill two: wood on a print
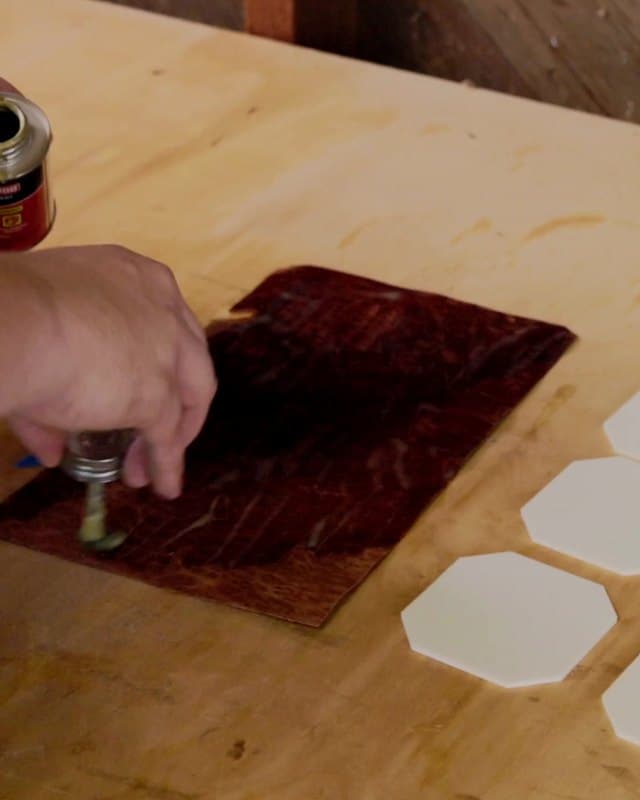
Contact cement on the veneer 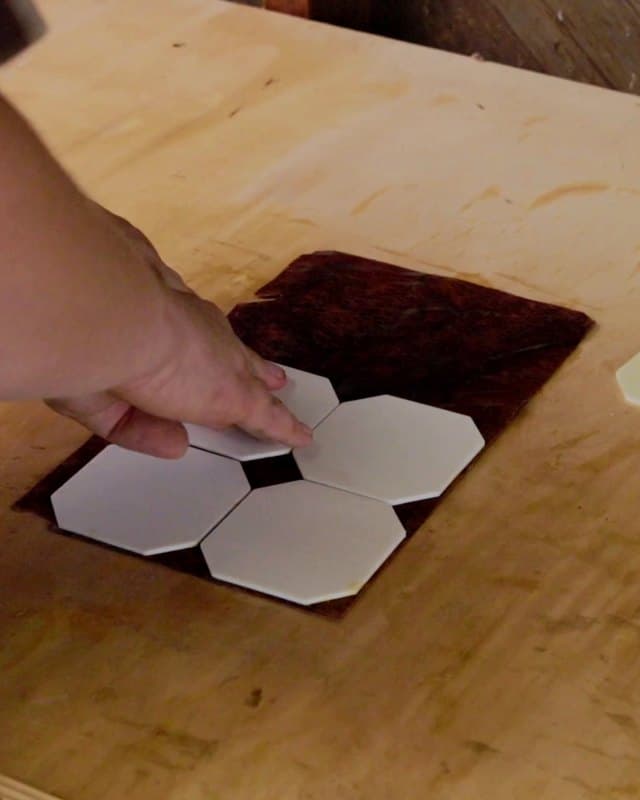
The plates go down 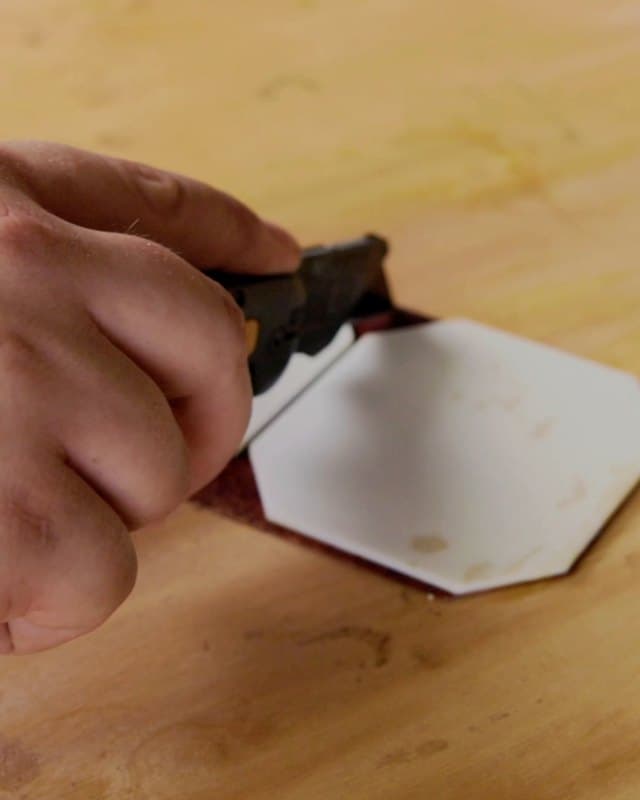
Then a knife
Step 5 of 5
Screw it together.
The posts slide in on the corners, the rings go on top and bottom, and eight M4 screws hold it. Back them out and it comes apart.
What you need.
Everything besides the printed parts, for one cube. These are the ones I used. Prices and stock change, so check the listing before you buy.
Hardware
Veneer and glue
Plus filament, PETG or PLA. The whole cube is about 416 g of PETG.
Contact cement catches fire. Unplug the iron first and open a window with a fan in it blowing out.
Before you start.
Do I need a 3D printer?
Yeah, you print the parts yourself, in PETG or PLA. I tuned them on a Bambu Lab X1 Carbon with a 0.6 mm nozzle, and other printers are untested. Every part fits a 180 x 180 mm bed on its own, so a smaller bed just takes more plates.
How long does it take?
The printing is the long part. The whole cube is about 7 h 10 min in PETG, or 6 h 8 min in PLA. Those are slicer times at X1C speeds, so yours will be a little different. The contact cement has to dry to a knuckle touch before the wood goes on, like the can says.
What does it cost?
The files are free. What you buy is the inserts, screws, veneer, contact cement and a knife, plus a soldering iron with an insert tip if you don’t have one. The list up above has the links. Prices change, so check the listing.
Is it really free?
Yes. The print files, the build guide and the hardware list are all in the zip, and the zip is free.
What’s the email for?
So the print files end up on your computer, where your slicer is. The download also shows up right here on the page. After that it’s build notes now and then, and you can unsubscribe in one tap.
What if I’ve never done veneer?
The guide walks you through it. Each blank is cut about 4 mm (5/32 in) bigger than the plate on every side, so it doesn’t have to go down perfect, and you cut a spare or two in case one goes wrong. The trim is light passes with a knife, from each corner toward the middle.
I’m learning right here along with you guys.
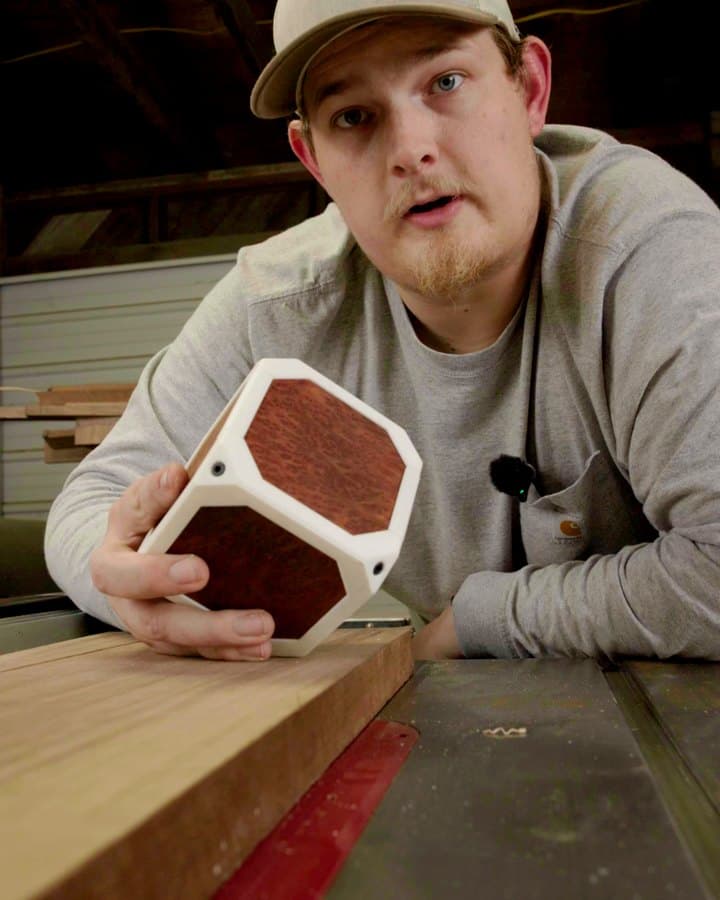
I’m Shane.
This is Artifact Armory. I build stuff with wood and plastic and film the builds.
I want people to have the freedom to build whatever they can imagine.
Real wood things, made at a desk.
A lot of you don’t have a shop. You’ve got a printer and a desk, maybe in an apartment. That’s enough to make real wood things, and I want to get those people together.
The plan is build reviews and a call every week. It isn’t built yet. If you want in, tell me and I’ll let you know when it is.
Get the starter build.
The print files, the build guide for your phone and the hardware list. It’s free.
One email with the files, then build notes now and then. Unsubscribe in one tap. Privacy