
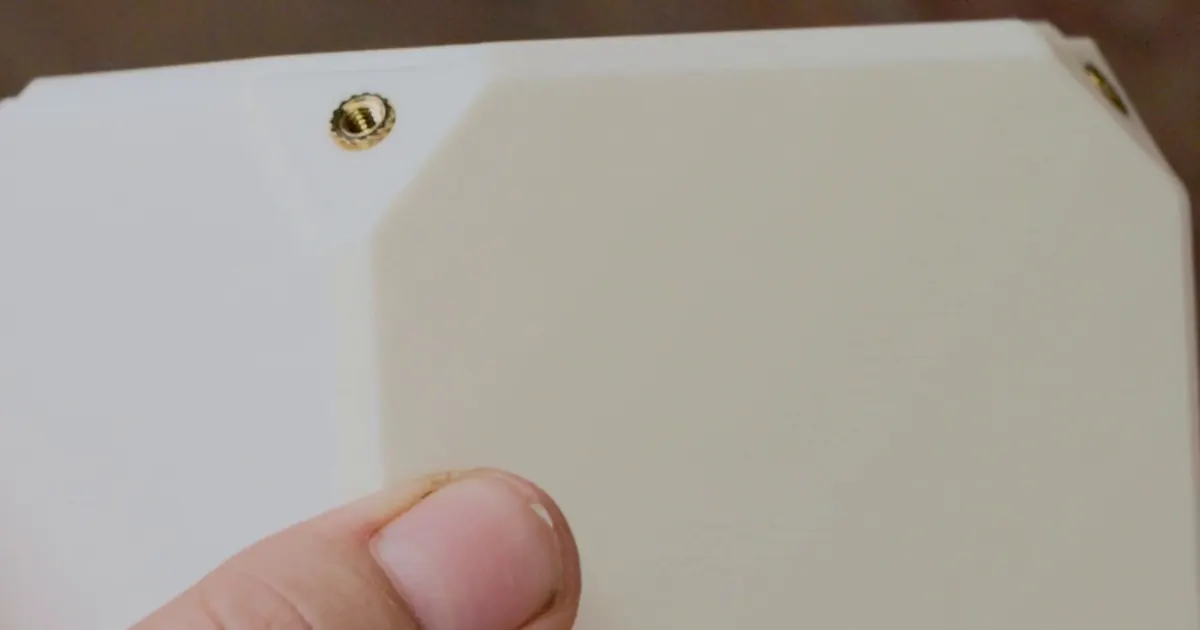
Heat-set inserts are not hard at all. You heat a little brass insert with a soldering iron, it melts its way down into a hole you printed for it, and now you've got metal threads in your print. I've pretty much done mine freehand the whole time. Keep the temperature low, go slow, don't push hard, and they go in straight. The only crooked one I've had, I had to force.
What happens when a heat-set insert goes in crooked
I had to force it to go crooked. All of the ones I set the first time doing it, even freehand, went in straight, and I didn't have a single problem.
I tossed the piece. Obviously I tried to see if I could salvage the insert, but that did not work.
That's why the cube comes with a practice block for your first insert. It's just one corner of the core with one insert hole in it. We just print it really small so that we don't have to use a lot of plastic. In PETG it's 7 g and 12 minutes. The core it's testing is 222 g and about 3 hours 20 minutes, so the practice block is the one you want to learn on.
Heat-set inserts vs captive nuts and snap fits
Before these, I mostly used captive nuts and snap-together. The snap-together obviously left a lot to be desired in strength. The captive nuts are nice, but you have to design specifically around them. There are a lot of shortcomings to them that you don't have to worry about with inserts.
The ease of just putting a hole in and then adding metal threads to that hole is hard to beat.
M4 heat-set insert hole size and depth
The cube uses 9 Ruthex M4 x 8.1 brass inserts, 8 for the corners and 1 for the practice block, with M4 x 8 mm screws. The hole for each one is 5.6 mm across and 9.1 mm deep. That's the insert length plus 1 mm, with a small 0.5 mm countersink at the top. Those holes are sized for Ruthex, so the inserts that come in a soldering iron kit aren't a drop-in swap.
The insert goes in flush with the top. On the cube each screw only gets about 3 mm of thread into the insert, so any bit an insert sinks below flush is thread you lose. If one does go in too deep, an M4 x 10 in that corner still reaches the threads.
What temperature for heat-set inserts in PETG
The cube is PETG, and I set the first one at 250 C. It went in easily, just slower than I thought. I had to push a little harder than I thought, too. I think that's because I had the temperature so low.
But I think that helped. It kept me going slow and kept the insert straight, rather than having it too hot and sinking too fast and getting off course.
How to keep heat-set inserts straight
Get the hole pointing straight up first. For the cube, the build guide has you nest the opposite corner of the core in a folded towel, so the corner you're working on points up and the core can't roll.
Then set the insert on the tip and go slow. You don't want to force it. Let it heat up slowly, keep the pressure light, and bring it flush with the top. Put the iron back in its stand when you're done. The tip and the brass are hot enough to burn you, so don't touch the insert until it cools.
That's really all there is to it. Even freehand, mine went in straight the first time.
Soldering iron or heat-set insert press
The press I had was just a linear rail for the iron, and I've only been able to use it a couple times because it was so short. I've pretty much used the soldering iron freehand the whole time and never had an issue.
If you're just starting out, start with the iron.
Do heat-set inserts come loose?
Not on the cube. I've only taken it apart three or four times, and nothing's loosened so far.
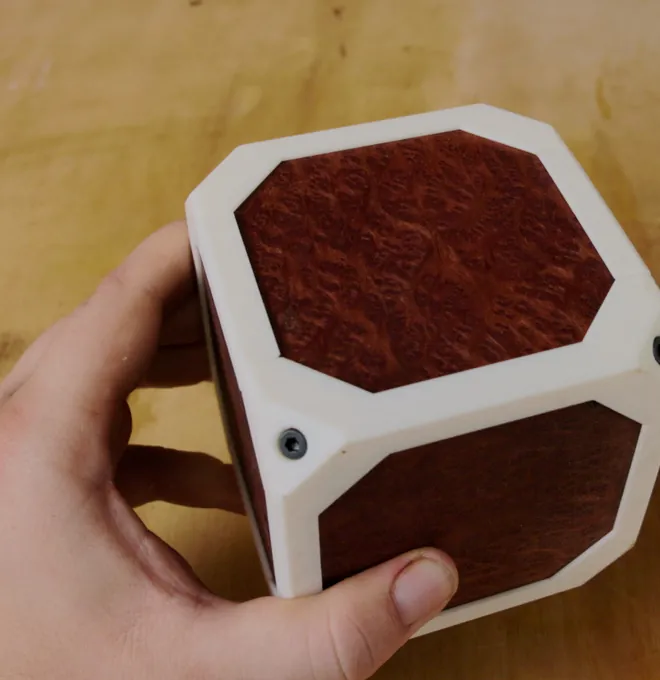
I think the main thing that made it so easy was that I kept the temperature low, let it heat up slowly, and didn't apply a lot of pressure.
If you want something small to set your first ones in, the cube is my free starter build.